

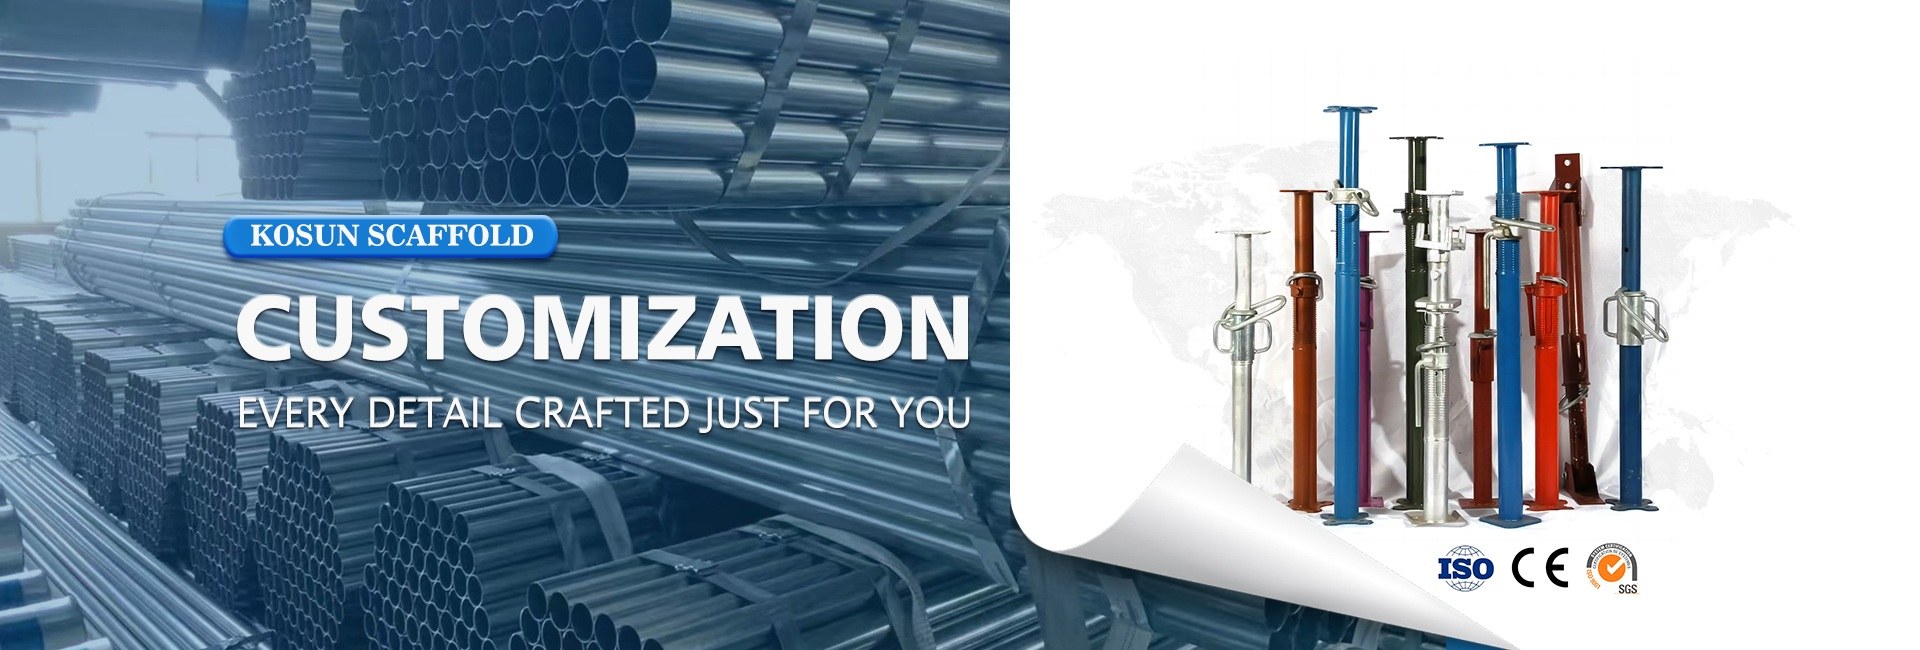
Your shoring prop tripod wobbles like a baby giraffe, everyone shouts “It’s fine!”, and you secretly Google “how not to crush my site manager” during lunch. Relax—this guide turns sketchy supports into safe, steady lifesavers.
To fix the chaos, you’ll inspect each tripod, lock pins correctly, and follow load limits like they’re gospel. Then you’ll secure bases, brace properly, and cross-check setup with trusted standards such as OSHA’s scaffold safety guidelines here.
🔧 Understanding Shoring Prop Tripod Components and Load-Bearing Principles
Shoring prop tripods support vertical props so they stand stable during formwork and slab construction. Good setup protects workers, speeds work, and reduces costly rework.
By understanding each component, you can match the right tripod to the job, control loads safely, and extend equipment life with simple daily checks.
1. Key Components of a Shoring Prop Tripod
Each tripod includes legs, hinges, and locking devices that hold the prop upright. Simple, strong joints keep the structure firm under load and vibration.
- Three steel legs with anti-slip feet
- Central collar or head to grip the prop
- Bracing bars or chains for leg spacing
- Pins or clamps for quick locking
2. Load-Bearing Basics You Must Know
Tripods stabilize; props carry the main load. Always follow the maker’s load chart and never guess the safe working load on any level.
| Factor | Effect on Load |
|---|---|
| Prop height | Higher prop usually lowers safe load |
| Tripod spacing | Closer spacing improves stability |
| Base condition | Soft ground sharply cuts capacity |
3. Types of Shoring Prop Tripods for Different Jobs
Choose the right tripod type for slab formwork, beams, and general support. Proper matching cuts movement and improves concrete finish quality.
- Scaffolding Shoring Prop Tripod for integrated scaffolding systems
- Steel Prop Tripod for heavy-duty loads
- Formwork Prop Tripod for slab and beam formwork
4. Best Practices for Safe Load Transfer
Keep props vertical, legs fully opened, and bases firm. Use uniform spacing and avoid point loads on fresh concrete or weak formwork panels.
| Practice | Benefit |
|---|---|
| Use base plates | Spreads load safely |
| Check verticality | Prevents side movement |
| Follow grid layout | Ensures even load sharing |
🦺 Pre-Use Safety Inspections and Common Hazard Identification Checklist
Inspect every shoring prop tripod before use. Quick checks catch cracks, bent legs, missing pins, and unsafe ground conditions that can cause dangerous failures.
Use a simple, repeatable checklist so all crew members look for the same issues, record faults, and remove unsafe equipment from service immediately.
1. Visual Checks for Damage and Wear
Walk around each tripod and prop. Look for rust, deformation, cracked welds, and damaged threads. Tag and remove any suspect unit at once.
- Check legs for bends or dents
- Inspect welds and joints
- Examine locking pins and chains
- Confirm labels and markings remain clear
2. Ground and Environment Hazards
Tripods must stand on firm, level support. Wet, soft, or sloping ground can cause sudden settlement and tip-overs during concrete pours.
| Hazard | Control |
|---|---|
| Soft soil | Use sole boards or base plates |
| Slopes | Re-grade or use engineered platforms |
| Water or mud | Drain and clean the area |
3. Data-Driven Focus: Most Common Tripod Failures
Use safety data to focus training and inspections. The example chart below shows typical root causes of shoring incidents on building sites.
4. Practical Daily Checklist Before Use
Apply a short checklist at the start of each shift. This habit keeps risk low and supports compliance with site safety rules and standards.
- Confirm no damaged parts or missing pins
- Check ground and base boards
- Verify prop capacity and spacing
- Ensure clear access and no stored materials near legs
🏗️ Correct Setup, Adjustment, and Alignment Techniques on Construction Sites
Correct setup ensures each tripod supports the prop safely and resists movement from wind, vibration, and concrete placing equipment.
Train crews to follow a step-by-step method so layout, height adjustment, and alignment stay consistent and compliant on every project.
1. Step-by-Step Setup Procedure
Open legs fully, place on firm boards, fix the prop in the head, and lock all pins before any load reaches the system.
- Mark grid lines on slab or soil
- Position tripods, then insert props
- Close all clamps and safety pins
- Re-check stability by gentle push test
2. Safe Height Adjustment and Fine Tuning
Adjust prop height before adding heavy formwork. Use screw jacks smoothly, keeping hands away from pinch points and locking nuts tight.
| Action | Safety Tip |
|---|---|
| Raise prop | Two workers handle tall props |
| Set final level | Use spirit level or laser |
| Lock nut | Confirm full thread engagement |
3. Alignment for Formwork and Structural Quality
Keep props vertical and aligned in rows. Good alignment controls deflection, improves slab flatness, and avoids stress points in the structure.
- Use string lines along rows
- Check verticality with level
- Correct misaligned props before pour
⚠️ Preventing Tip-Overs: Stabilization, Bracing Methods, and Safe Working Loads
Tip-over prevention depends on stable bases, correct bracing, and strict control of loads during all phases of the pour and stripping.
Plan the shoring layout in advance, then keep loads within limits and avoid sudden changes that can shock the temporary works.
1. Base Stabilization and Ground Improvement
Always spread loads over a wide area. Use timber sole boards, concrete pads, or steel plates where soil or existing slabs seem weak.
- Place boards under each leg on soil
- Avoid placing near trench edges
- Inspect for settlement after rain
2. Bracing and Tying Systems
Use braces between props and around frames to resist horizontal forces. This reduces sway from wind, workers, and placing equipment.
| Bracing Type | Main Use |
|---|---|
| Diagonal braces | Control sway in both directions |
| Ledger braces | Hold rows at fixed spacing |
| Wall ties | Connect to permanent structure |
3. Managing Safe Working Loads in Practice
Know the designed load per prop and per bay. Control stacking of materials on formwork and avoid dynamic impacts such as dropping concrete.
- Follow load tables and drawings
- Limit wet concrete depth if needed
- Stop pour and review if movement appears
✅ Routine Maintenance, Storage Practices, and Why Choose Kosun for Reliability
Regular cleaning and smart storage keep shoring prop tripods safe, easy to handle, and ready for the next project with minimal repair costs.
Reliable suppliers, clear markings, and consistent quality reduce downtime and help your site meet strict safety and schedule targets.
1. Routine Maintenance and Inspection Intervals
Inspect tripods after each use and before the next job. Clean dirt, remove concrete, and lightly oil moving parts to prevent rust.
- Record defects and repairs
- Replace bent or cracked parts
- Keep threads and pins lubricated
2. Correct Storage and Handling on Site
Stack tripods neatly in racks. Avoid throwing units from trucks or platforms, which can bend legs and weaken hidden joints.
| Storage Rule | Benefit |
|---|---|
| Store indoors if possible | Less corrosion and damage |
| Use pallets or racks | Faster counting and access |
| Separate damaged stock | Prevents accidental reuse |
3. Why Contractors Trust Kosun Shoring Solutions
Kosun offers consistent steel quality, strict welding control, and clear capacity markings. This helps your teams work faster while staying within safe limits.
- Stable quality across large orders
- Designs tested for real-site loads
- Technical support for layout and selection
Conclusion
Safe use of shoring prop tripods depends on sound components, firm bases, and trained crews who respect load limits and follow clear procedures.
By choosing reliable equipment, planning layouts, and applying daily inspection routines, you protect workers, structures, and your project schedule on every pour.
Frequently Asked Questions about shoring prop tripod
1. How many tripods do I need per prop?
Normally one tripod supports one vertical prop. In heavier systems, additional bracing and frames, not extra tripods, provide the needed lateral stability.
2. Can I use a shoring prop tripod on soft ground?
Yes, but only with proper base spreading such as timber sole boards or steel plates. Without these, legs can sink and cause sudden failures.
3. Are tripods designed to carry vertical loads?
No. Tripods mostly provide lateral support to keep props upright. The prop itself carries the main vertical load, based on its rated capacity.
4. How often should I inspect shoring prop tripods?
Inspect before each use, after major pours, and whenever tripods are moved between projects. Remove damaged units from service and tag them clearly.
5. Can different brands of prop and tripod be mixed?
Only if the manufacturer confirms compatibility. Mismatched head sizes or locking systems can reduce stability and may void product warranties or approvals.
Post time: 2026-02-12 14:11:03